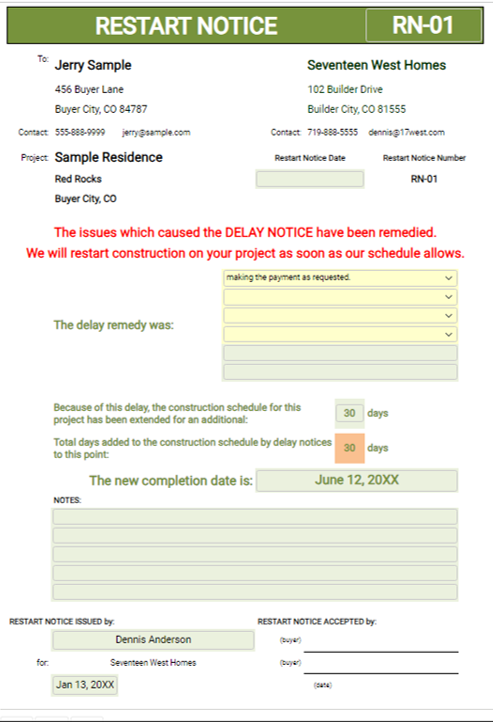
- This form documents the resolution of the problems which caused the Delay Notice to be issued.
- Every Delay Notice requires a Restart Notice.
- Determine and document the effect on the schedule, and be liberal with adjusting the extension.
- This is an opportunity to play catch-up, if necessary.
- Create a Company template for this form by opening the Dashboard and completing the Company information.
- Review the “Selections” tab and customize the default entries as desired.
- Add custom “Restart Remedy” entries as needed.
- Save the form as “Restart Notice Template” in the appropriate file.
- I use a “Templates” folder for all templates.
- To use the Template, access the app in Builder-BOS, “Load” the Template, enter the Project information, and proceed.
- Save the new document in the appropriate Project file.
- Complete the Project information at the Dashboard.
- Click on “01” to open the first Restart Notice for the Project.
- Enter the date of the notice.
- At the dropdown menu, select a remedy, or add a remedy in the green-shaded cells.
- Determine and add the number of days the project schedule has been extended.
- Be liberal with adjusting the extension date. This is an opportunity to extend the schedule, if needed.
- Calculate and document the new completion date.
- Complete the name and date sections.
- Print a copy of the document and submit it to the Client for signature.
- The “Selections” tab provides defaulted “Restart Remedy” information.
- The defaulted information is customizable, and additional selections may be added in the green-shaded cells in each list.
- Customize the information to fit your business needs.
