- If you do not wish to subsidize your client’s project with your profits, issue a Specification Change Document for every change.
- Documenting changes made to the Initial Specifications from which you created the initial pricing proposal is critical to maintaining profitability on your project.
- This app will make it easy to back up every claim.
- Complete the Project information at the Dashboard.
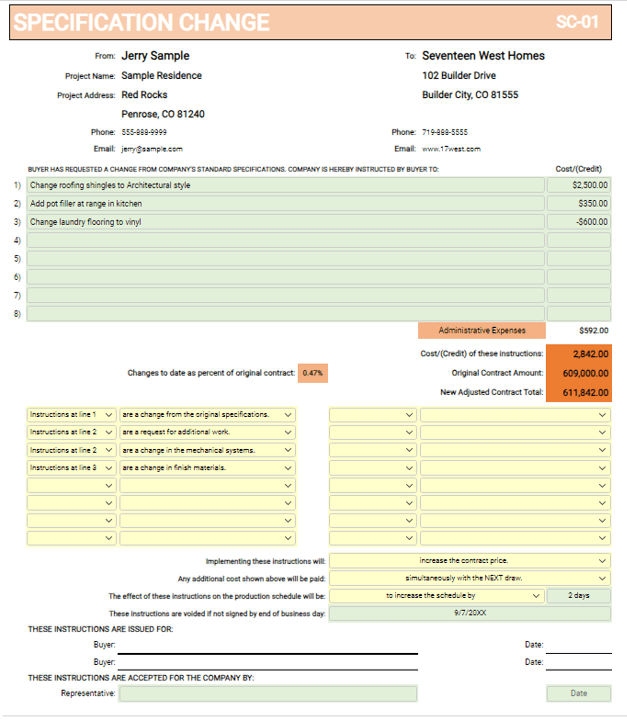
- Click on “01” to open the first Specification Change Document for the Project.
- In the green-shaded cells, enter the changes which have been requested by the Buyer.
- In the green-shaded cells under “Cost/(Credit)”, enter the cost or credit for the desired change.
- Enter the actual costs or credits associated with the change. The form will calculate the additional Overhead and Profit.
- In the first dropdown menu under “Instructions Clarification”, reference the line number of the first instructions.
- In the adjacent dropdown menu, select the character of the change.
- You can use multiple cells to describe any one instruction.
- Describe the effect on the contract at the “Implementing theses instructions will:” dropdown menu.
- Describe when the Specification Change amount will be collected in the “Any additional cost shown above will be applied:” dropdown menu.
- Describe the effect of the Specification Change on the schedule in the next dropdown menu, and add the number of days at the green-shaded cell.
- Add the date by which the Specification Change must be executed in the green-shaded cell.
- Sign and date the notice.
- Print a copy of the document and submit it to the Client.
- The “Selections” tab provides defaulted “Document Name”, “Overhead Phrase”, and Change Character information.
- The defaulted information is customizable, and additional selections may be added in the green-shaded cells in each list.
- Customize the information to fit your business needs.
- Create a Company template for this form by opening the Dashboard and completing the Company information.
- Review the “Selections” tab and customize the default entries as desired.
- Add custom entries as needed.
- Save the form as “Specification Change Template” in the appropriate file.
- I use a “Templates” folder for all templates.
- To use the Template, access the app in Builder-BOS, “Load” the Template, enter the Project information, and proceed.
- Save the new document in the appropriate Project file.